Visual UI designer for Java: craftforJ on your running app

craftforJ is the visual UI designer for Java that ships with webforJ. It opens on top of your running app, shows the component tree your Java code built, lets you change properties and see the result at once, and writes the changes you keep back into the Java file that created each component.
Because the designer works on the real app, there is no export step and no generated code to reconcile with your own. The source stays the source. This post walks through how that works, from enabling it to writing a change into a view.
What a visual UI designer for Java does differently
Most visual designers start from a mock canvas. You arrange shapes, and then somebody turns the arrangement into code. The two drift apart the moment the code changes.
craftforJ starts from the other end. Your Java classes are already the definition of the UI, so craftforJ reads the app through webforJ itself. The tree lists your components, not the markup the browser rendered. The properties are the ones your components declare. The routes are the ones your router registered, with the access rules you annotated them with.
That is also what separates it from a debugger. A debugger pauses code and shows variables. craftforJ leaves the app running and shows the interface your code produced, so you work with the result.
craftforJ arrived in webforJ 26.02, and it runs in development only.
Enable craftforJ in development
craftforJ attaches to an app only when every requirement is met. If one is missing, nothing appears on the page. You need the webforj-devtools dependency, debug mode, the craftforJ flag, a browser on the same machine as the app, and a developer license:
<dependency>
  <groupId>com.webforj</groupId>
  <artifactId>webforj-devtools</artifactId>
  <version>${webforj.version}</version>
</dependency>
webforj.debug = true
webforj.devtools.craftforj.enabled = true
On a Spring Boot project the same two keys go in application.properties. Both must be on, which is deliberate. An app that ships with debug mode left on does not expose your source tree.
Projects generated with startforJ or from a webforJ archetype have craftforJ enabled already. By default only a browser on the machine running the app can reach it. Other addresses have to be named in webforj.devtools.craftforj.hosts-allowed, and the configuration reference lists every property. Leave webforj.devtools.craftforj.enabled unset in production. The security page has the checklist for confirming it is off in the build you deploy.
Open the designer with Alt+Shift+D
Run the app and open it in your browser. A trigger button appears over the page. Click it, or press Alt + Shift + D from anywhere in the app. The same shortcut closes it.
craftforJ floats over your app by default. You can drag it to any edge to dock it, resize it, or move it into its own browser window or tab, which suits a second monitor. The tabs along its edge cover the component tree, routes, the theme and the AI assistant. Settings and app information sit beside them.
Inspect the live component tree
The Inspector tab shows the tree your Java code built. A Composite appears as the class you wrote, holding the children you gave it, in the order webforJ holds them. The structure in craftforJ matches the structure in your source.
You can search the tree with Cmd/Ctrl + F, and wrapping a term in slashes treats it as a regular expression. Hovering a node highlights that component on the page. Right-clicking a node opens its actions, which include viewing its source and handing it to the assistant.
Select a component on the page
To pick a component the way you would in a design tool, press Alt + Shift + C and click it in the page. The tree selects the matching node and the sidebar fills with its properties. You can start from the screen or from the tree.
Every component can be traced to the Java that built it. The source viewer opens at the line that created the component, read-only inside craftforJ, or in your editor at the same line if you configure that. When a component cannot be traced to a line, craftforJ says so instead of opening an empty file.
Change properties and see them live
Selecting a component shows its properties, grouped by what they affect. Which ones appear depends on the component, and some are read-only. Properties that do not read well as text get an editor that suits the value. Edit one and the running app updates immediately.
Consider a small contact view:
@Route("contact")
public class ContactView extends Composite<FlexLayout> {

  public ContactView() {
    getBoundComponent().setDirection(FlexDirection.COLUMN).setSpacing("1em");

    TextField email = new TextField("Email");
    Button save = new Button("Save");

    getBoundComponent().add(email, save);
  }
}
Open /contact, press Alt + Shift + C, and click Save. In the sidebar, set its text to Save contact, set its theme to primary, and set its expanse to large. Then select the field, rename its label to Email address, and add a placeholder. The page reflects each edit as you make it.
At this point your files have not changed. A property edit alters the app in front of you and nothing else, which makes it safe to try ideas you will throw away.
Write the change back to your Java source
To keep what you did, press Cmd/Ctrl + S. Every edit is recorded as a pending change, and craftforJ shows how many are waiting. The review groups them by the file they will land in. Each one shows the property with its old and new value, and expands into the diff of that file. If a change would replace a computed value with a fixed one, craftforJ warns you and names the expression it is about to replace.
Nothing is written until you apply. You can revert or discard any change on its own first. After applying, the constructor reads like this:
@Route("contact")
public class ContactView extends Composite<FlexLayout> {

  public ContactView() {
    getBoundComponent().setDirection(FlexDirection.COLUMN).setSpacing("1em");

    TextField email = new TextField("Email address");
    email.setPlaceholder("name@example.com");
    Button save = new Button("Save contact");
    save.setTheme(ButtonTheme.PRIMARY);
    save.setExpanse(Expanse.LARGE);

    getBoundComponent().add(email, save);
  }
}
Writing Java makes the app rebuild and restart. craftforJ waits for the restart and reconnects with your selection and any remaining pending changes intact. With live reload configured that happens on its own, and without it you restart the app yourself.
When a component is built inside a reusable class, craftforJ lets you choose where the change goes. Writing to the usage changes only the screen in front of you, which is the default. Writing to the definition changes every screen that uses the component. Each pending change shows which applies.
Because craftforJ writes to your project, keep your work in version control and read the diff before you apply it. The full flow is on the applying changes page.
See and navigate your routes
The Routes tab shows the routing table of the running app in the hierarchy the router holds it in, with the active route marked. Routes registered dynamically appear next to annotated ones.
Selecting a route shows its path, the class behind it, the lifecycle observers attached to it and its configuration. You can navigate to any route from there, and routes that take parameters offer a field for each one. The navigation is real, so your lifecycle observers run exactly as they would for a user.
Each route carries a badge for its security annotation, and the toolbar can narrow the tree to public or protected routes. You can also change a route's access rule from craftforJ. It writes the annotation into the route's class, and the change goes through the same review as any other source change.
Edit your theme visually
The Theme tab works on the DWC design tokens your app already uses, so one change reaches every component that reads that token. Controls cover the palette, the surfaces behind it, the shape of edges and corners, typography, and spacing.
A theme has a light side and a dark side. You can apply an edit to both or to one, and flip the app between them. A preview shows the palette, surfaces, a type specimen and the status colors together, so you catch a combination that works on one screen and fails on another. craftforJ also includes several preset themes to start from.
A theme you are working on is applied to the app but is not part of your project yet, and reloading discards it. Saving writes it into your app's stylesheet, where it survives restarts, shows up in your diff, and ships with the app. The themes guide explains the tokens behind the controls.
Let the AI assistant write the Java
Property edits cover what the component already exposes. For everything else there is the assistant, a coding agent that works inside the running app. You give it a goal, and it plans, inspects the live tree and your source, acts, checks the result, and corrects itself across many steps. Each step shows in the transcript, and you can expand any of them to see what it called and what came back.
The part that matters is the compile gate. Every edit the assistant writes is staged rather than written to disk, sent to a real Java compiler, and corrected against the diagnostics that come back. What reaches your review has already compiled against your running app.
You decide how much it may do on its own: ask before every action, apply edits automatically but ask before removing or running scripts, or run autonomously. Start with the first and relax it once you have watched it work.
craftforJ ships no model of its own. You add an API key for a supported provider, or point it at a model running locally. The key is held in the browser only while the page is open, and the assistant talks to your provider from the browser rather than through your server. What reaches the provider is the conversation, including the parts of the app the assistant looked at and any screenshots it took, so think twice before pointing a hosted model at an app running on real data. The assistant page covers approvals, models and conversations, and craftforJ Assistant compares it with the editor plugin.
Two feature flags narrow it. webforj.devtools.craftforj.ai.enabled removes the assistant, and webforj.devtools.craftforj.ai.freeform-changes keeps it but stops it writing Java of its own.
Try it on your own app
Generate a project with startforJ, run it, and press Alt + Shift + D. Select one button, change one property, and apply it. For an existing project, the getting started page lists what to add.
Frequently asked questions
Does craftforJ generate code I have to maintain separately?
No. It edits the Java file that created the component, and you review a diff before anything is written. There is no second representation of the UI to keep in sync.
Can craftforJ run in production?
No, and it is off by default. It needs both webforj.debug and webforj.devtools.craftforj.enabled, and by default only a browser on the machine running the app can reach it. Leave both unset in the configuration you deploy.
Which models can the AI assistant use?
You choose. Add an API key for one of the supported providers, or connect a model running locally. The model must be able to call tools, because one that cannot only holds a conversation and cannot inspect or change anything.
Building something with webforJ?
Talk to the team about your project, a migration, or whether webforJ fits.
Keep reading
 A JSF alternative: moving a Jakarta Faces view to webforJLooking for a JSF alternative? See how Facelets, backing beans, EL, navigation rules, and validators map to webforJ, with a full before and after view.
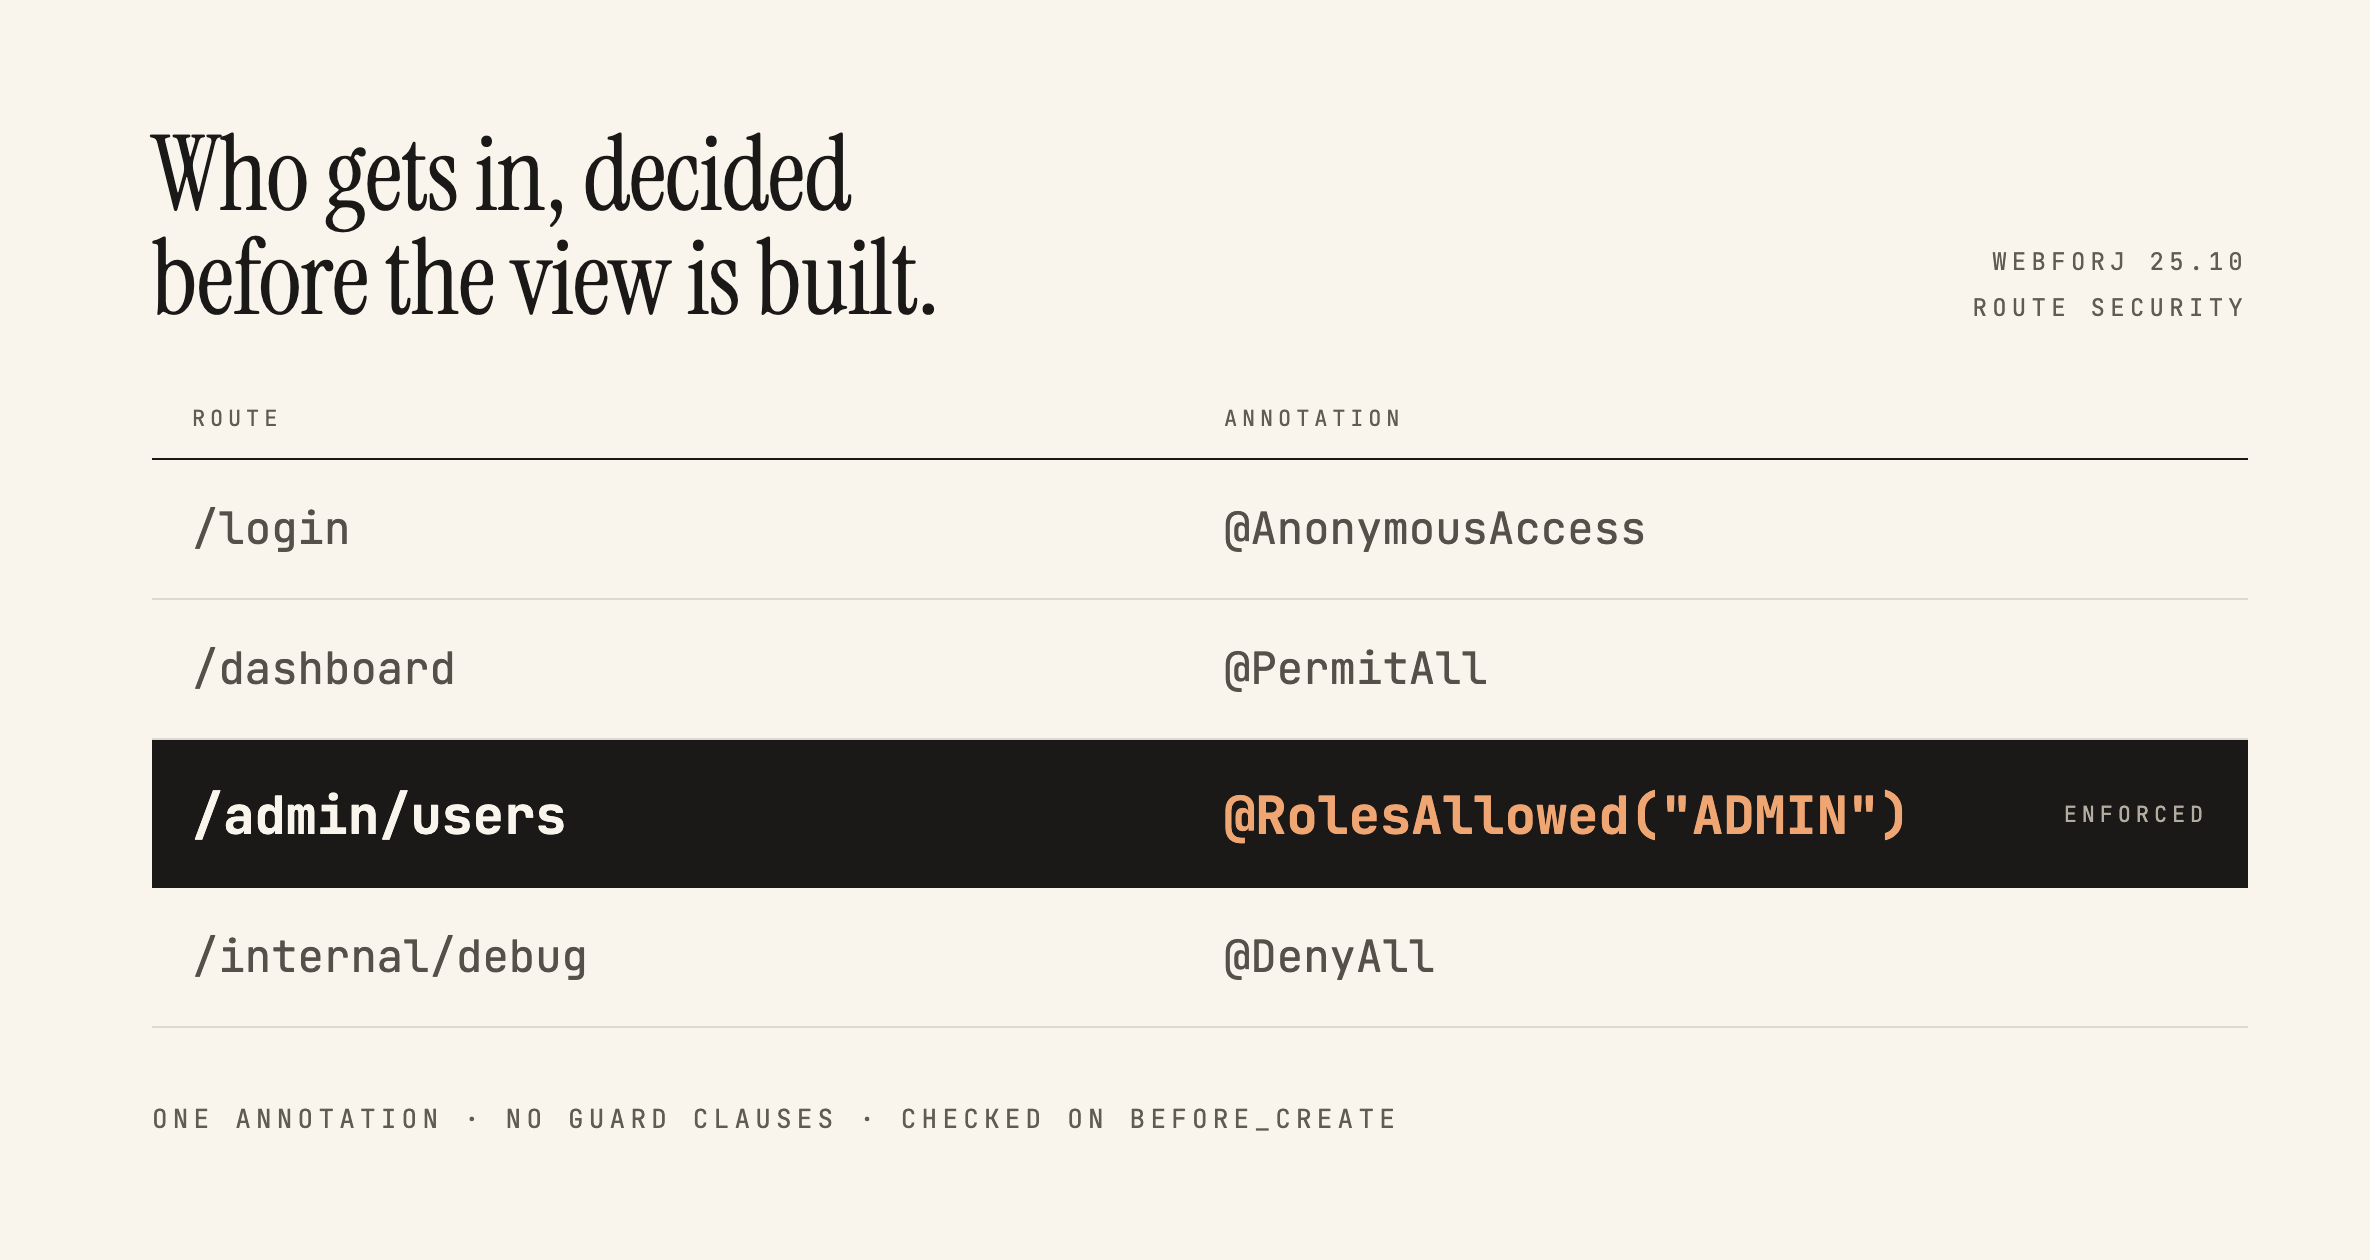 Securing webforJ Routes Before the View ExistsRoute annotations stop people reaching a view. What they don't do is follow you inside it, and that distinction decides where your access checks belong.
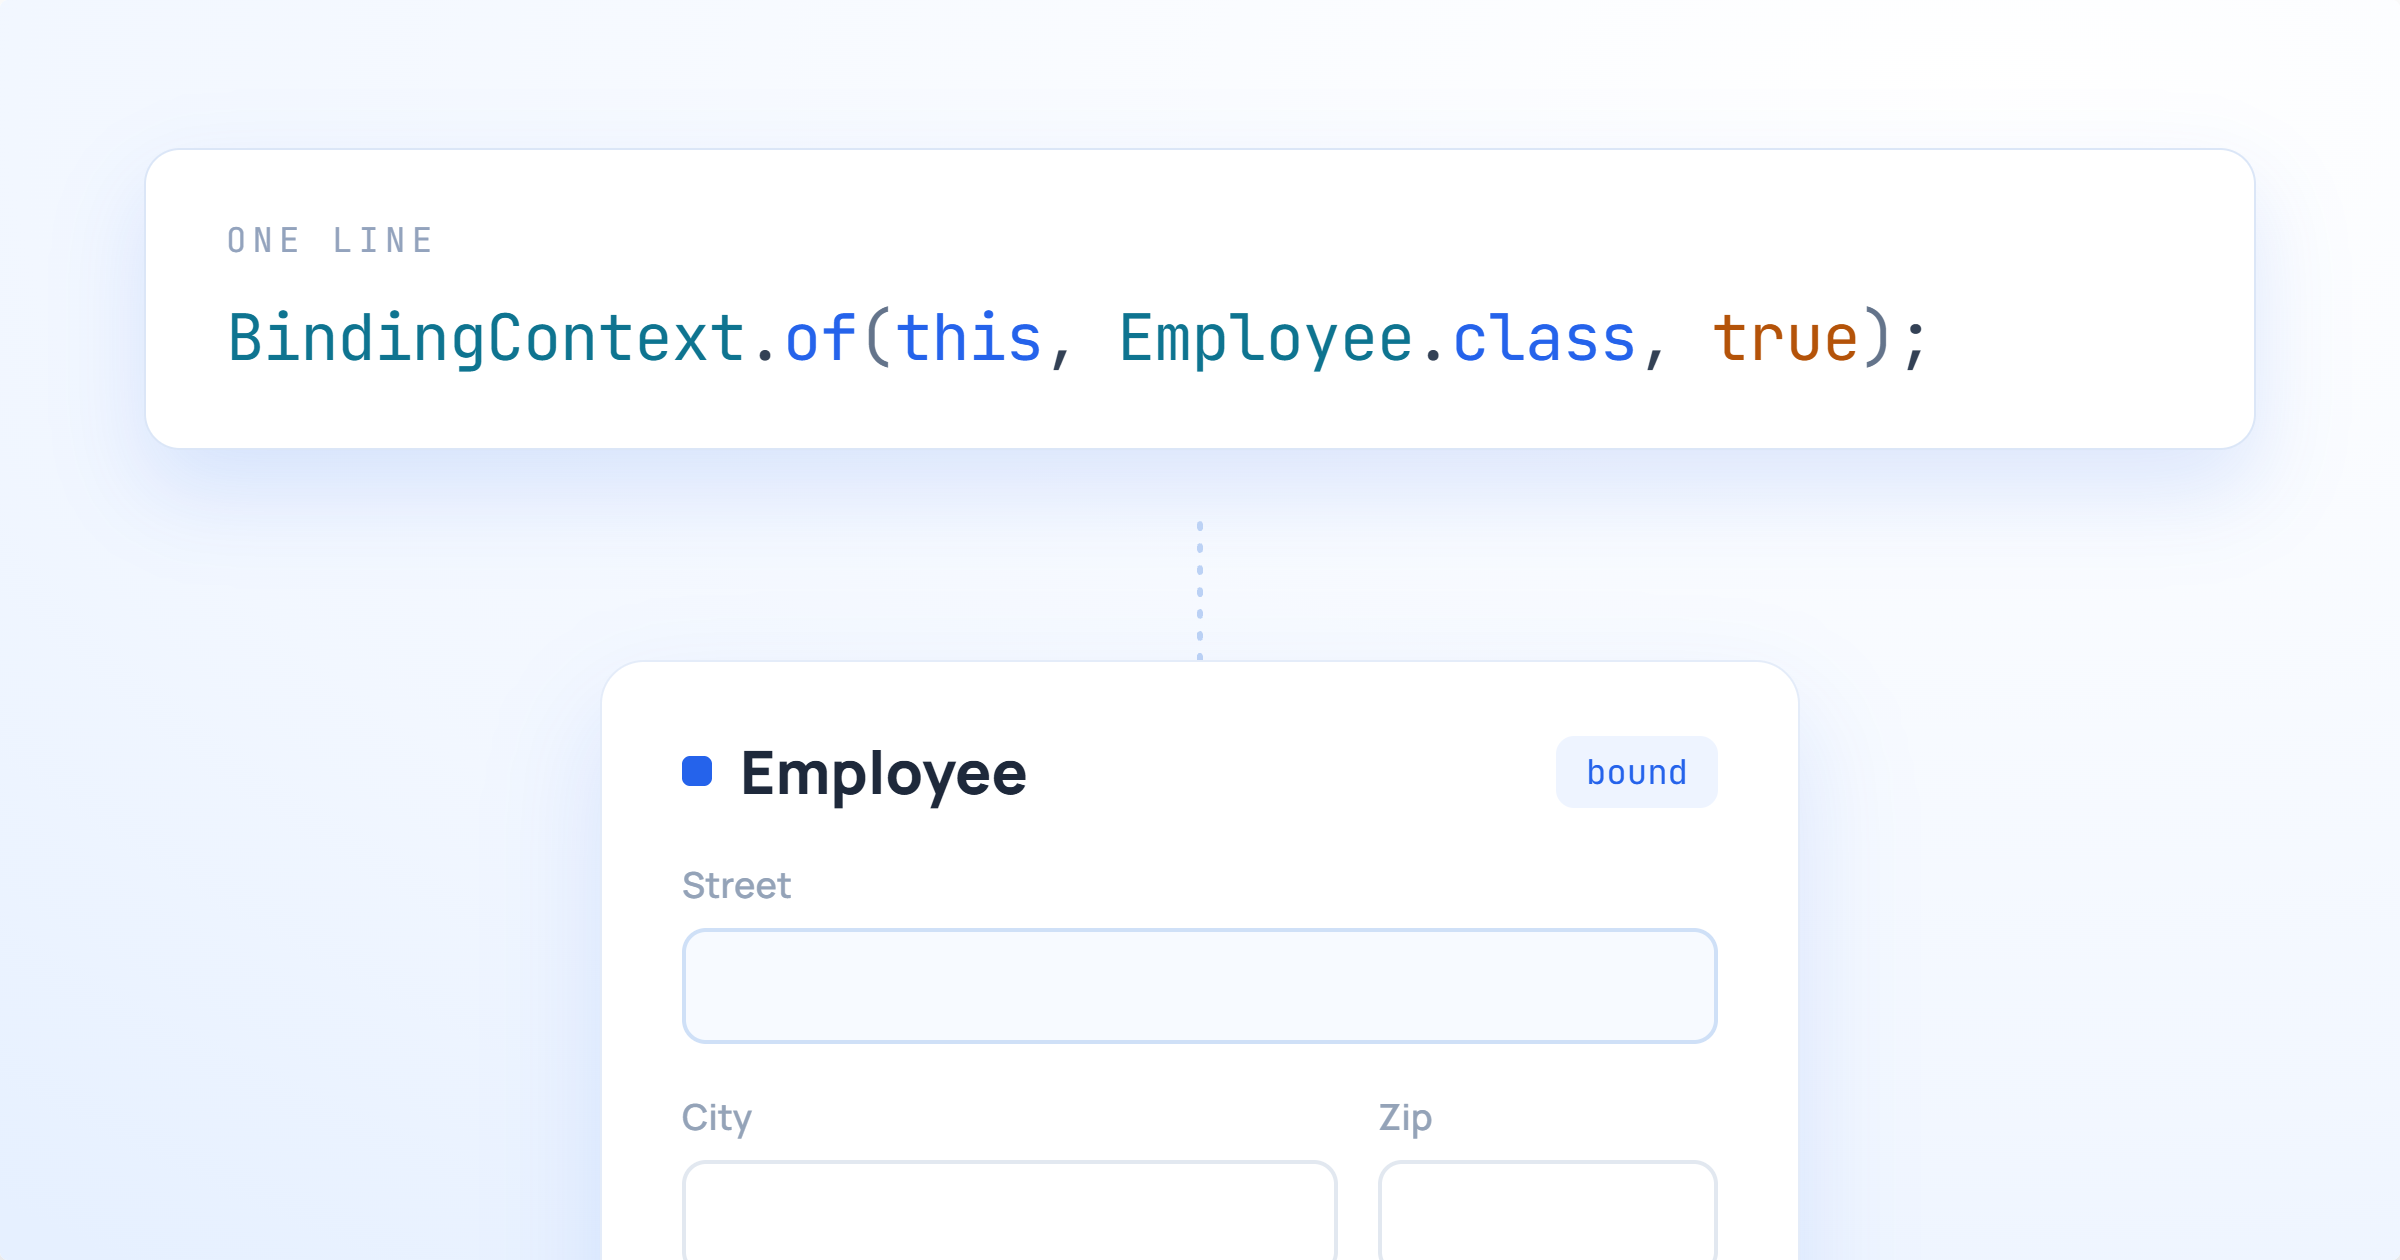 The Data Binding Feature Past Matthew Really NeededUsing webforJ's automatic data binding to wire forms to nested Java beans without the boilerplate