Install npm packages in a Java web app with webforJ

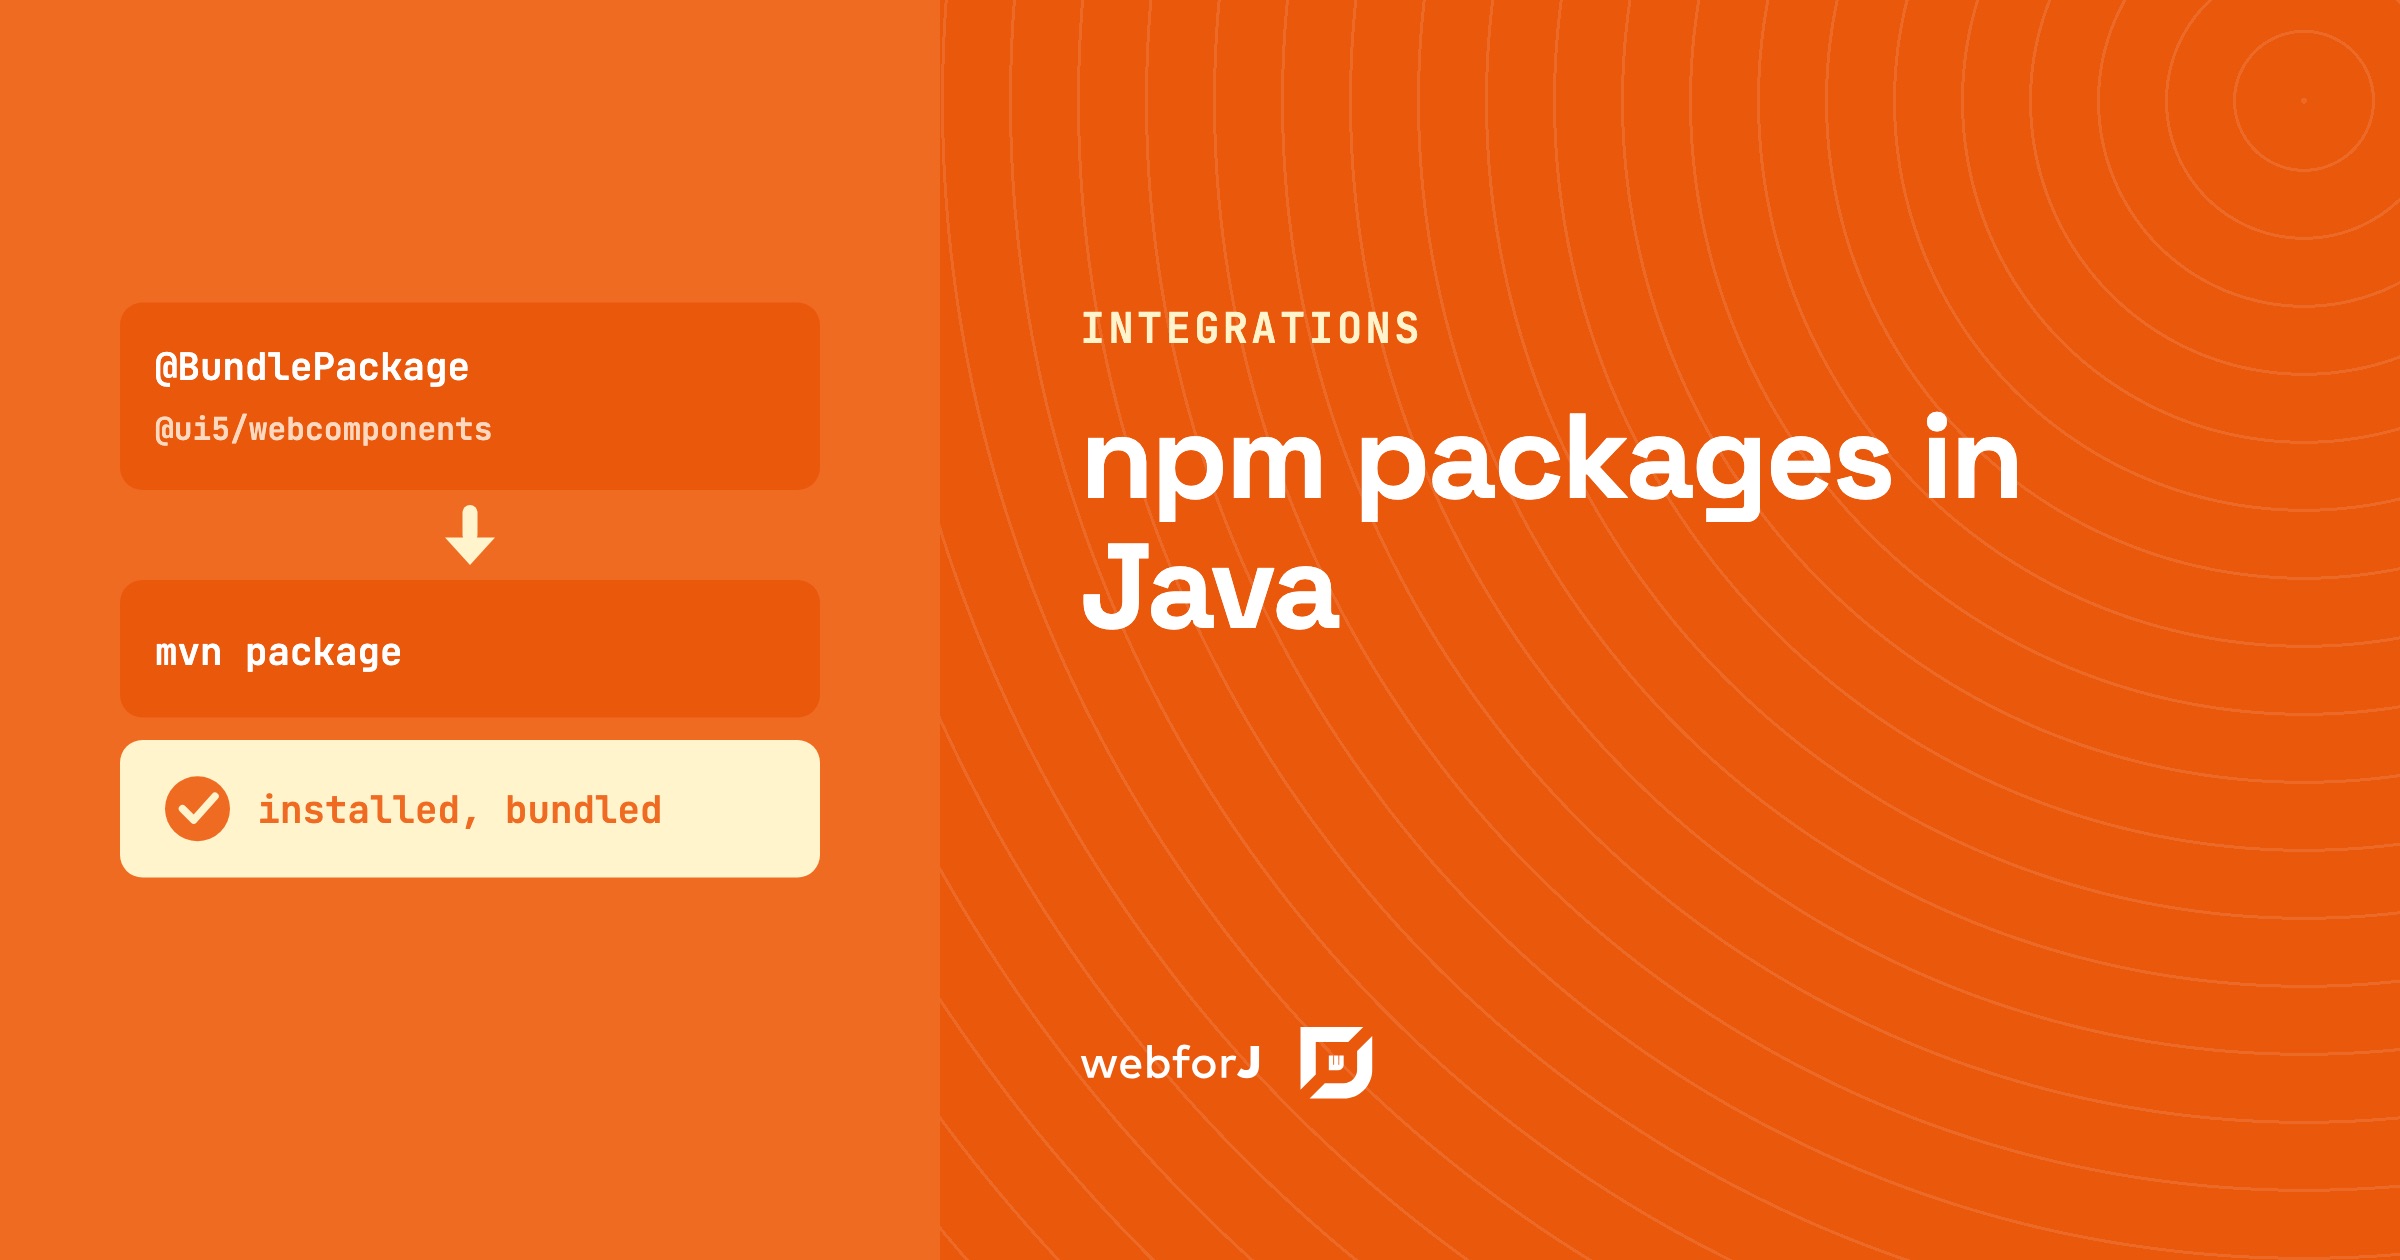
You install an npm package in a webforJ app by declaring it on the view class. @BundlePackage names the package and its version range. @BundleEntry names the module you use. The build installs the package with Bun and compiles it into the app, so you don't set up a Node toolchain. This is the common way to bring a web component library into a Java web app. Your Java code then creates the component by its tag name and uses it like any other control.
Connecting webforJ to your stack?
Ask the team about your libraries, services, and build.
Why hand-copied JavaScript breaks
A common way to add a browser library to a Java app is to copy its files into the project. You download a script, drop it into a resources folder, and load it by hand. The versions drift over time. An upgrade means copying files again, and nothing in the project shows which version runs.
Declaring the package on the view fixes this. The dependency sits next to the code that uses it, and the build handles the install.
The same idea covers stylesheets and compiled sources. Each view declares what it needs, and the declaration travels with the class. When you open a view, you see which packages and modules it loads, without searching the resources folder, or a separate build file.
Add an npm dependency to a Java UI
- Add the webforJ build plugin to your Maven or Gradle build.
- Add
@BundlePackageto the view class with the npm name and a version range. - Add one
@BundleEntryfor each module the view uses.
@Route("/ui5")
@BundlePackage(value = "@ui5/webcomponents", version = "^2.0.0")
@BundleEntry("@ui5/webcomponents/dist/Button.js")
@BundleEntry("@ui5/webcomponents/dist/Input.js")
public class Ui5View extends Composite<FlexLayout> {

  private final FlexLayout self = getBoundComponent();

  public Ui5View() {
    self.setAlignment(FlexAlignment.CENTER)
      .setStyle("margin", "1em");

    Element input = new Element("ui5-input");
    input.setProperty("placeholder", "Type something");

    Element button = new Element("ui5-button");
    button.setProperty("design", "Emphasized");
    button.setText("Say hello");
    button.addEventListener("click", e ->
      Toast.show("Hello " + input.getProperty("value"))
    );

    self.add(input, button);
  }
}
The version uses npm syntax. ^2.0.0 accepts compatible 2.x releases, and Bun resolves the range when it installs. A caret range can pick up a newer minor release on a later install, so run the view after you change a version. Both annotations repeat, so one class can declare several packages and load several modules.
Module paths and file entries
The value of @BundleEntry is either a module path inside an npm package, or a file you write under src/main/frontend. The entries preceding this point at modules in @ui5/webcomponents, so the project has no source file to write. Each module registers its custom element when it loads. That's why the view uses ui5-input and ui5-button directly, with no wrapper class.
A file entry works the other way. You write a .ts, .js, or .css file under src/main/frontend, and the build compiles it the same way. Use a file entry when you own the component. Use a module path when a package already provides it.
Use the element from Java
Create an Element with the tag name. Set properties with setProperty and text with setText. Attach handlers with addEventListener, then add the elements to a layout.
The click handler in the example reads the input value and shows it in a toast. Tag names, property names, and event names are strings. A typo in a property name isn't caught at compile time, so check each one against the library's documentation.
Keep compile-only packages out
Some packages compile your sources and never reach the browser. A TypeScript compiler is one example. Set dev = true on @BundlePackage, and the build installs it as a devDependency. Packages the entry imports at runtime stay without dev.
Load a module only in debug mode
Add debug = true to @BundleEntry when a module should load only during development. The entry then runs only when the app starts in debug mode. Use it for a diagnostic panel or a test helper that has no place in production.
Stylesheets without a script
An entry can be a plain .css file. You don't need a script for it. The runtime loads the file as styles for the view, which suits a theme for one view. Point @BundleEntry at the file under src/main/frontend, the same way you would for a script.
Checklist
- The build plugin is in your Maven or Gradle build.
- Each view that imports a package has
@BundlePackagewith a version range. - Each module or file the view loads has its own
@BundleEntry. - Packages only the compiler needs use
dev = true. - Java creates the component by tag name and sets its properties.
- Debug-only modules use
debug = true.
Next, create a project with startforJ or follow getting started. Then add the build plugin and declare your first package. The frontend bundler overview and the packages and assets page cover the options in detail.
Frequently asked questions
Do I need Node.js to install npm packages?
No. The build plugin manages Bun, which installs the packages declared in your classes. You don't install a Node toolchain yourself.
Do I edit package.json by hand?
Usually not. The build writes each declared package into package.json. Edits you make to that file are preserved on later builds. A project with no declarations and no package.json of its own keeps none.
Does every view load every package?
No. An entry loads the first time a component of its class is created. Subclasses inherit both annotations. When two entries import the same package, the build puts the shared code in one chunk that both load.
Can I use a JavaScript library with Maven?
Yes. Add the build plugin to your pom.xml. A normal mvn package then compiles the frontend along with the Java code and produces the app with its frontend included.
Rakennatko jotain webforJ:llä?
Keskustele tiimin kanssa projektistasi, migraatiosta tai siitä, sopiiko webforJ sinulle.
Jatka lukemista
 webforJ JavaScript Integration: Use the Libraries You Already HavewebforJ JavaScript integration explained for evaluators: wrap web components in Java, run client-side JavaScript, load scripts, and bring npm packages and React, Svelte or Lit components.
 The best Java UI framework for enterprise business apps in 2026How to pick the best Java UI framework for enterprise and internal business apps in 2026: Thymeleaf, Jakarta Faces, a JavaScript SPA, or webforJ, with working code for the Java-only route.
 Spring Boot frontend: Thymeleaf, React or webforJ?Choosing a Spring Boot frontend? Compare Thymeleaf, React or Angular with REST, and webforJ, which builds the UI in Java inside the same Spring Boot app.
