Building a Full-Featured Demo with webforJ and Spring Boot


In my time working with documentation and coding for customers I have built quite the number of demo apps myself, so by now I know what the shortcuts look like. The dataset is always small, with authentication and advanced features "coming soon" or hardcoded in instead of properly implemented. Filtering works fast, because coincidentally there are only five rows to filter. All of that isn't to say those demos are bad, after all they serve their purpose, but I wanted to see how efficiently I could build a demo that doesn't cut corners while still being small and easy to understand.
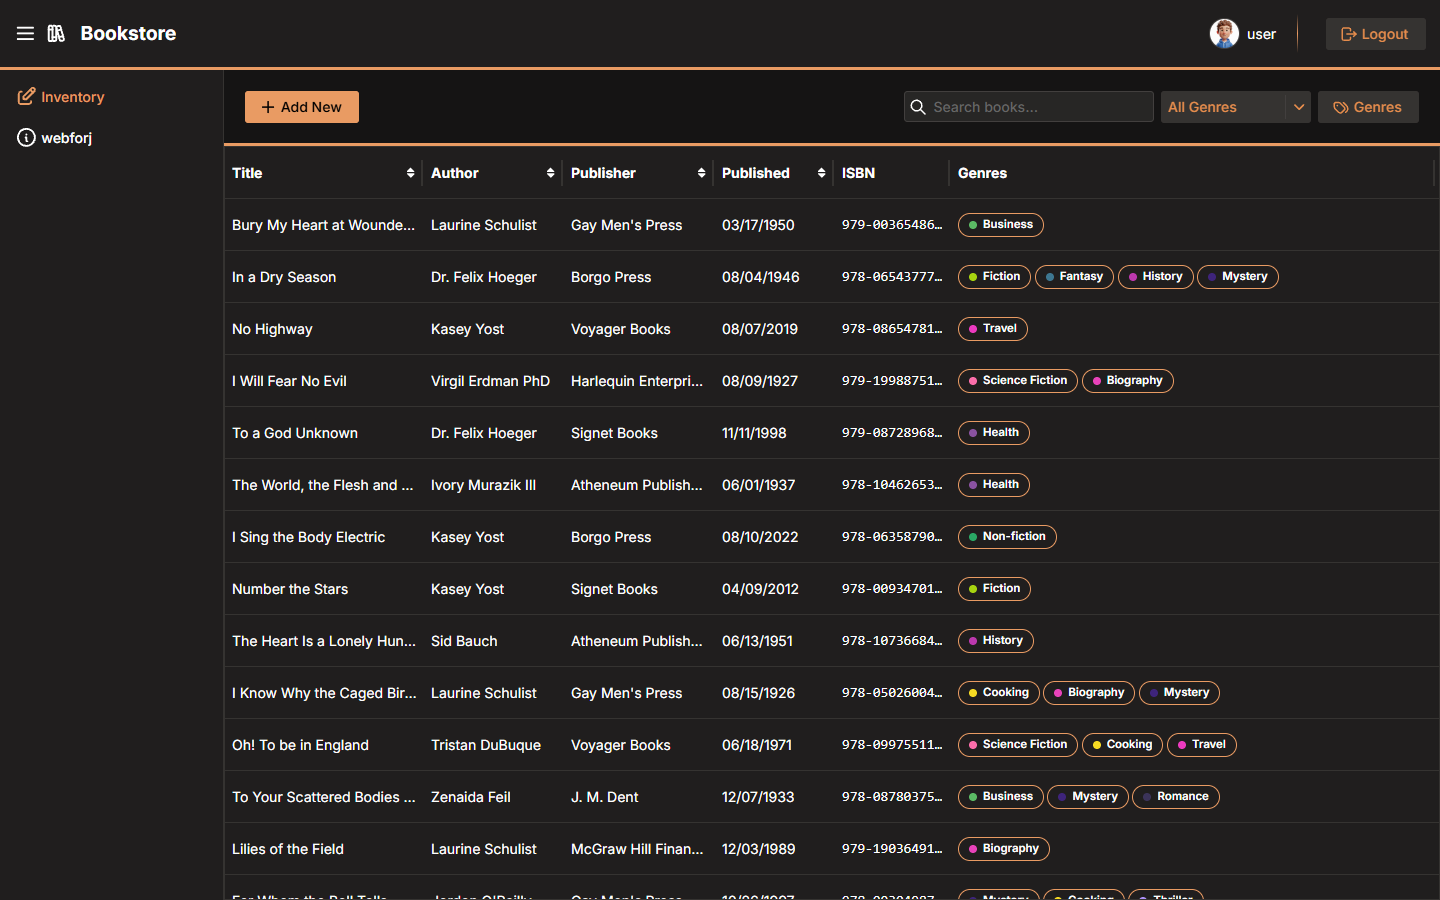
The webforJ Bookstore is my attempt at that. It's a book inventory manager built on webforJ and Spring Boot with live table filtering, colored genre chips, a data-bound edit drawer, and Spring Security handling who can do what. This post covers the pieces I found most worth writing about.
The bookstore at a glance
Here's what's in the app:
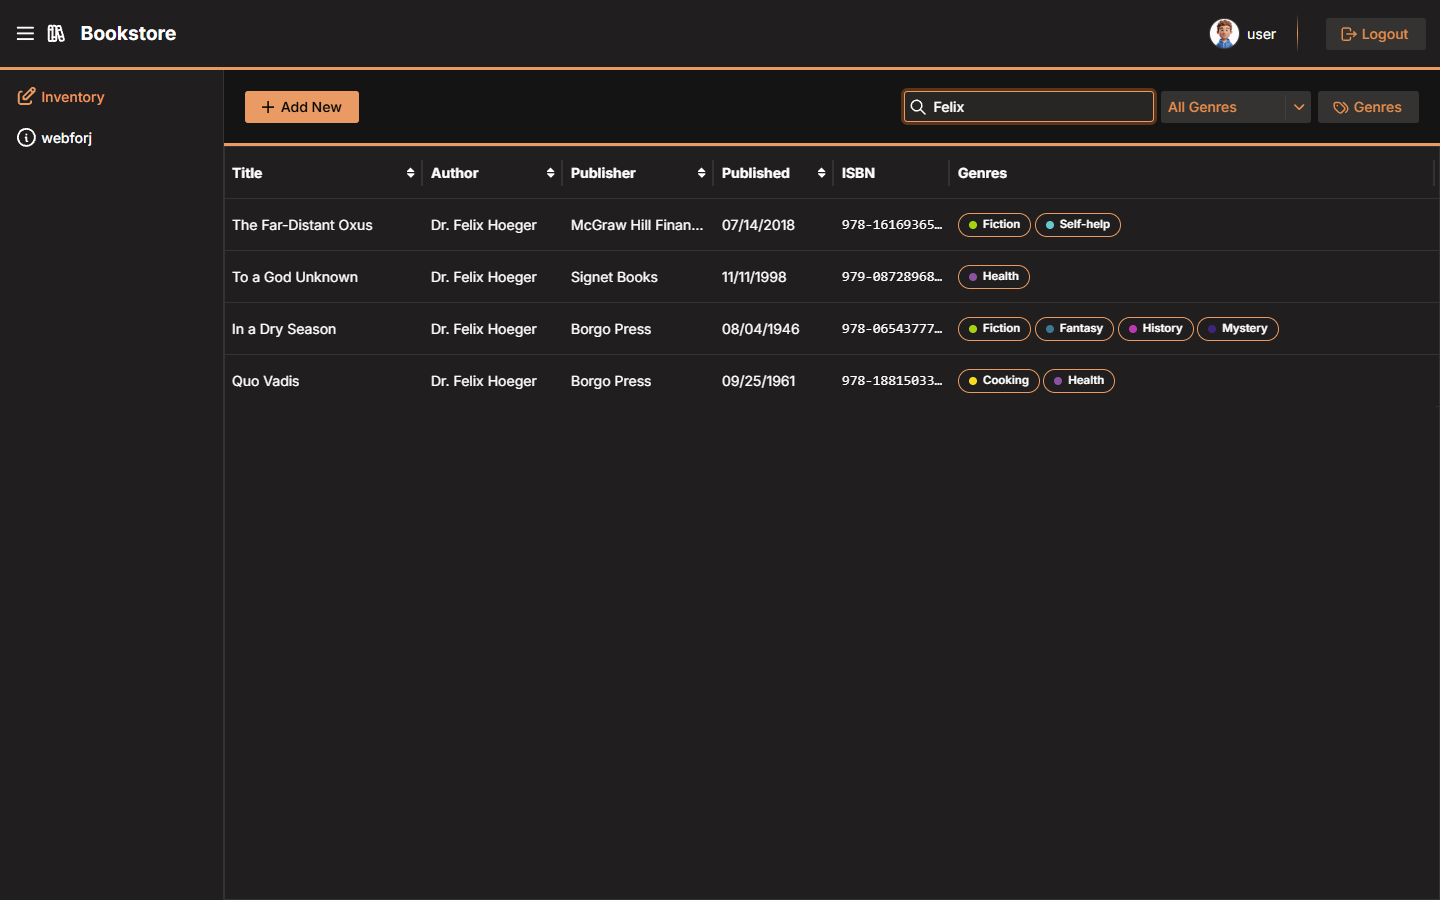
- Browse, search, and sort a book inventory in a live
Table - Add and edit books using a slide-out
Drawerwith automatic data binding and validation - Create and manage genres with custom colors, displayed as colored chips in each row
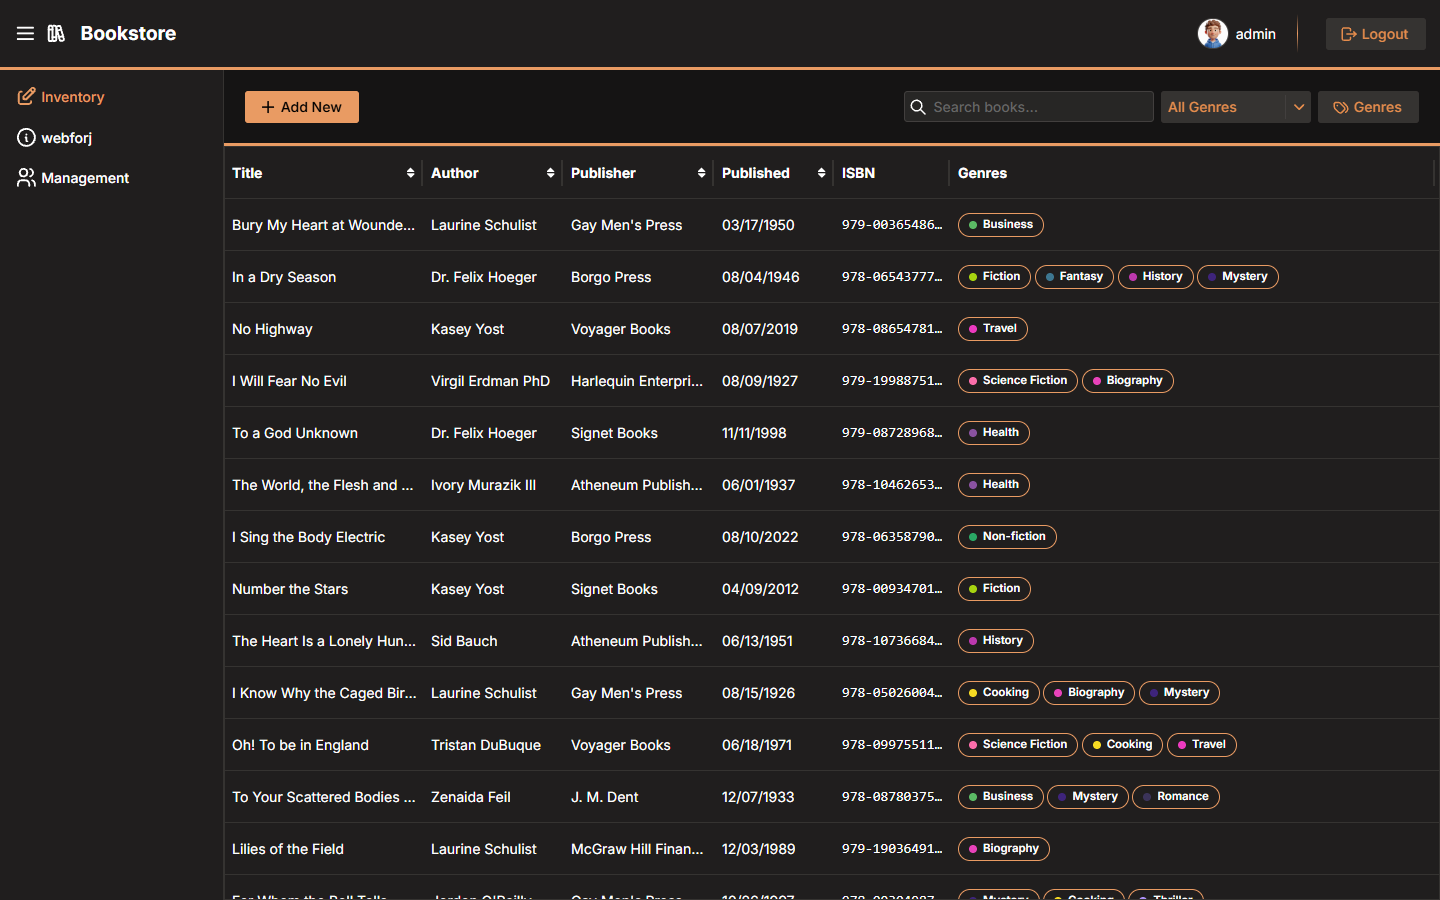
- Log in as a regular user or an admin, with Spring Security protecting views based on role
Two accounts ship with the app for testing:
| Username | Password | Role |
|---|---|---|
user | password | User |
admin | admin | User + Admin |
Connecting the table to Spring Data
The core of the inventory is a Table<Book> fed by a SpringDataRepository. webforJ's SpringDataRepository wraps a standard Spring Data JpaRepository and gives the Table component a way to page, sort, and filter rows without loading everything into memory at once.
Setting it up in BookService just takes one method:
@Service
@RequiredArgsConstructor
@Transactional(readOnly = true)
public class BookService {

  private final BookRepository bookRepository;

  public SpringDataRepository<Book, String> getFilterableRepository() {
    return new SpringDataRepository<>(bookRepository);
  }
}
And in InventoryView, plugging it into the table takes two lines:
repository = bookService.getFilterableRepository();
bookTable.setRepository(repository);
From there, the table handles its own lifecycle perfectly. Sorting, scrolling, and refreshing after a save all go through the repository.
Live filtering with JPA Specifications
The search bar and genre filter both update the table in real time, no matter the size of the dataset. Each time the user types in the search bar or picks a genre, the view builds a JPA Specification and hands it to the repository:
Specification<Book> searchSpec = (root, query, cb) -> {
  query.distinct(true);
  Predicate predicate = cb.conjunction();

  if (!term.isEmpty()) {
    String escaped = escapeLikePattern(term);
    predicate = cb.and(predicate, cb.or(
        cb.like(cb.lower(root.get("title")), "%" + escaped + "%", '\\'),
        cb.like(cb.lower(root.get("author")), "%" + escaped + "%", '\\')));
  }

  if (genre != null) {
    predicate = cb.and(predicate, cb.isMember(genre, root.get("genres")));
  }

  return predicate;
};
repository.setFilter(searchSpec);
repository.commit();
repository.commit() is the trigger that tells the Table to re-fetch its data. The JPA Specification runs as a proper SQL query, so filtering against a large dataset stays fast.
Make sure to use escapeLikePattern. Without it, your search field is an open door into your database, and we don't want that, even in a demo.
Custom genre chip renderer
Genres are stored as a list of strings on each Book, but they display as colored pill badges in the table. That's handled by GenreChipRenderer, a custom Renderer that outputs inline HTML for each row:
public class GenreChipRenderer<T> extends Renderer<T> {

  @Override
  public String build() {
    return """
        <div style='display:flex;gap:var(--dwc-space-xs);flex-wrap:wrap;'>
          <% var genres = JSON.parse(cell.value || '[]'); %>
          <% genres.forEach(function(g) { %>
            <span style='display:inline-flex;align-items:center;...'>
              <span style='width:8px;height:8px;border-radius:50%;background:<%- g.color %>;'></span>
              <span><%- g.name %></span>
            </span>
          <% }); %>
        </div>
        """;
  }
}
The column passes a JSON string (a serialized list of {name, color} objects), and the renderer parses and renders it as pills. Each genre gets its own dot in whatever color was assigned when the genre was created.
bookTable.addColumn("Genres", book -> GSON.toJson(
    book.getGenres().stream()
        .map(name -> Map.of("name", name, "color", genreColorCache.getOrDefault(name, DEFAULT_GENRE_COLOR)))
        .collect(Collectors.toList())))
    .setRenderer(new GenreChipRenderer<>());
The interesting bit here is the type boundary: genres are serialized to JSON on the Java side, then parsed and rendered client-side in the template. Passing structured data into a renderer this way worked cleanly, despite me half-expecting to spend time fighting the boundary.
Data binding in the edit drawer
Clicking any row opens an InventoryDrawer, a Drawer component that lets users add or edit a book. The form fields map directly to a Book instance through webforJ's BindingContext, making sure any changes are reflected in the model and the fields are already prefilled:
bindingContext = BindingContext.of(this, Book.class, true);
That single line wires every form field in the drawer to the corresponding property on Book. If your field name should ever not match the model property, make sure to annotate with @UseProperty to let the binding context know which property to use:
@UseProperty("author")
private ChoiceBox authorBox;

@UseProperty("publisher")
private ChoiceBox publisherBox;
When the user hits Save, bindingContext.write() pushes the form values back to the model and runs Jakarta validation in the same pass:
private void saveBook() {
  ValidationResult result = bindingContext.write(this.currentBook);
  if (result.isValid()) {
    if (onSave != null) {
      onSave.accept(this.currentBook);
    }
    self.close();
  }
}
If validation fails, the binding context maps the errors back to the individual fields automatically, no manual error routing required. If it passes, the book goes to the service layer and the table refreshes.

Adding Spring Security
Wiring Spring Security into webforJ's routing goes through WebforjSecurityConfigurer:
@Bean
SecurityFilterChain filterChain(HttpSecurity http) throws Exception {
  return http
      .with(WebforjSecurityConfigurer.webforj(), configurer -> configurer
          .loginPage(LoginView.class)
          .accessDeniedPage(AccessDenyView.class)
          .logout())
      .build();
}
Instead of hardcoding URL strings, you can hand it your actual view classes. webforJ figures out the paths and reads the annotations to determine which roles can access which views.

Public routes and role restrictions
@AnonymousAccess on the login view is easy to forget, but skip it and Spring Security intercepts everyone before they can get to the login page.
@Route("/signin")
@AnonymousAccess
public class LoginView extends Composite<Login> {
  // ...
}
The admin-only management section just needs an annotation to keep out unwanted guests:
@Route(value = "/management", outlet = MainLayout.class)
@RolesAllowed("ADMIN")
public class ManagementView extends Composite<FlexLayout> {
  // ...
}
That's it. Spring Security handles the rest, if someone without ADMIN navigates to /management, they're redirected to the access-denied page without any further routing.
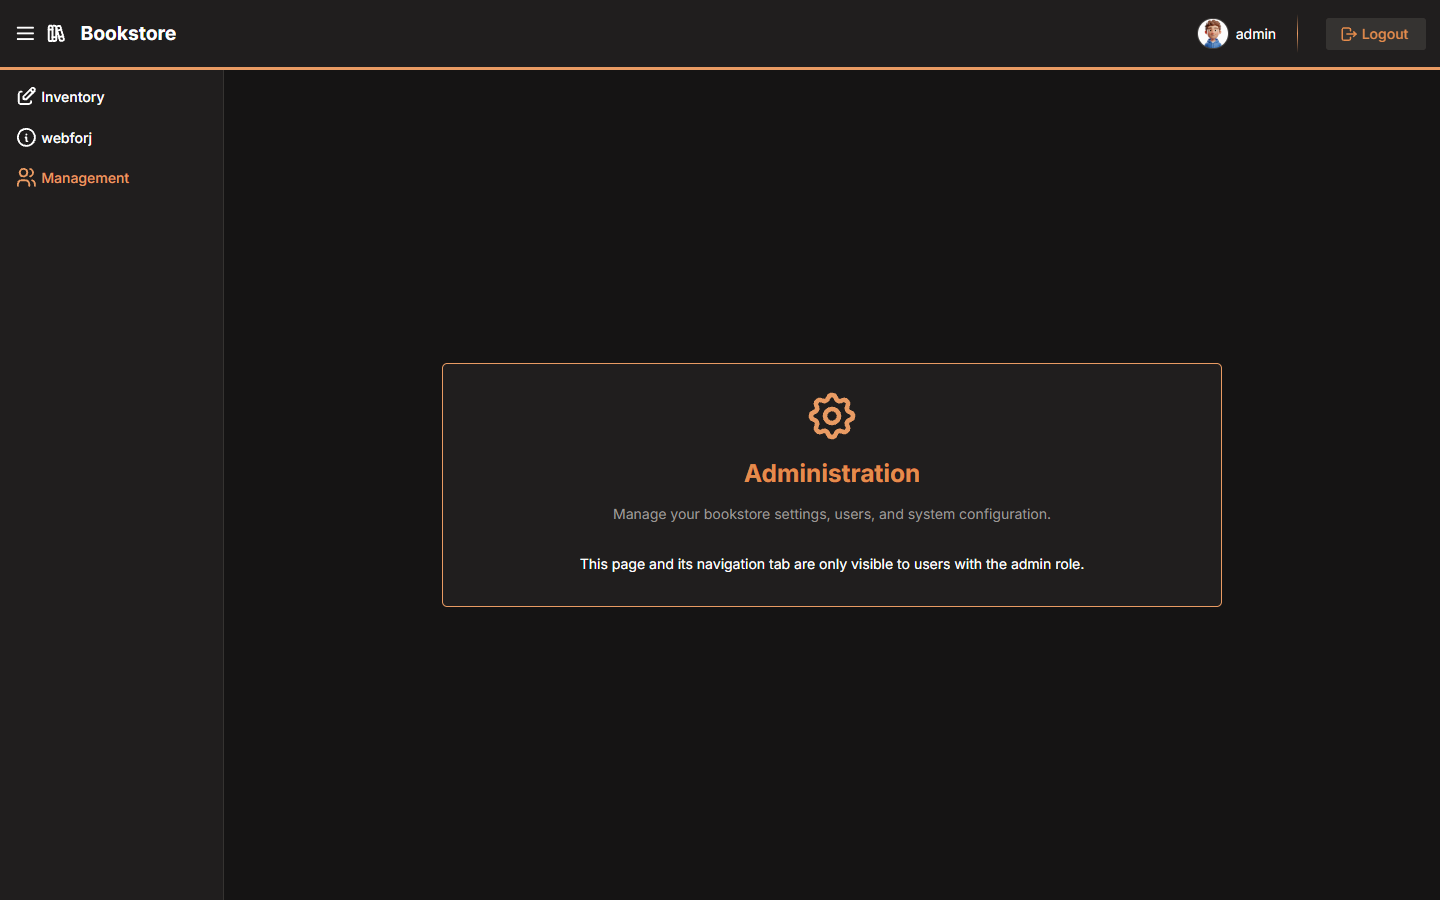
Role-aware navigation
The nav drawer adapts based on role too. In MainLayout, SecurityContextHolder gives you the current user's authorities, so the Management tab only gets added if you're an admin:
Authentication auth = SecurityContextHolder.getContext().getAuthentication();
if (auth != null && auth.getAuthorities().stream()
    .anyMatch(a -> a.getAuthority().equals("ROLE_ADMIN"))) {
  appNav.addItem(new AppNavItem("Management", ManagementView.class, TablerIcon.create("users")));
}
Regular users never see the Management tab. They might still try to reach it through the URL directly, which is why we made sure to keep them out earlier. The same auth object also supplies the username in the toolbar avatar, one source for everything session-related.
Logout is a one-liner:
logoutBtn.addClickListener(e ->
    SpringSecurityFormSubmitter.logout("/logout").submit()
);
Wrapping up
Overall I have to say, even after working with webforJ for some time now, I am still impressed how easy it is to connect multiple concepts and technologies together with it. Everything we built here works together cleanly just using the default configs, but we could build any necessary custom components and they would fit just as well.
If you want to see how it all fits together, the source is below.
Get the source code
The full source code is available on GitHub:
🔗 View the source code on GitHub
Clone it, run it with mvn spring-boot:run, and log in with both accounts to see the full app.